Welcome to our guide on T-Bone and Porterhouse steaks. We’re exploring the world of premium beef cuts. These bone-in steaks are favorites among meat lovers.
In this guide, we’ll show you how to pick, prepare, and cook these special cuts. Whether you’re a pro chef or just starting out, our tips will help you make amazing steaks at home. Get ready to improve your steak skills with our detailed look at T-Bone and Porterhouse steaks.
Understanding Premium Beef Cuts: T-Bone & Porterhouse Steak
T-Bone and Porterhouse steaks are top-notch. They offer a special dining experience. Let’s explore what makes them unique and how to find the best ones.
What Makes These Cuts Special
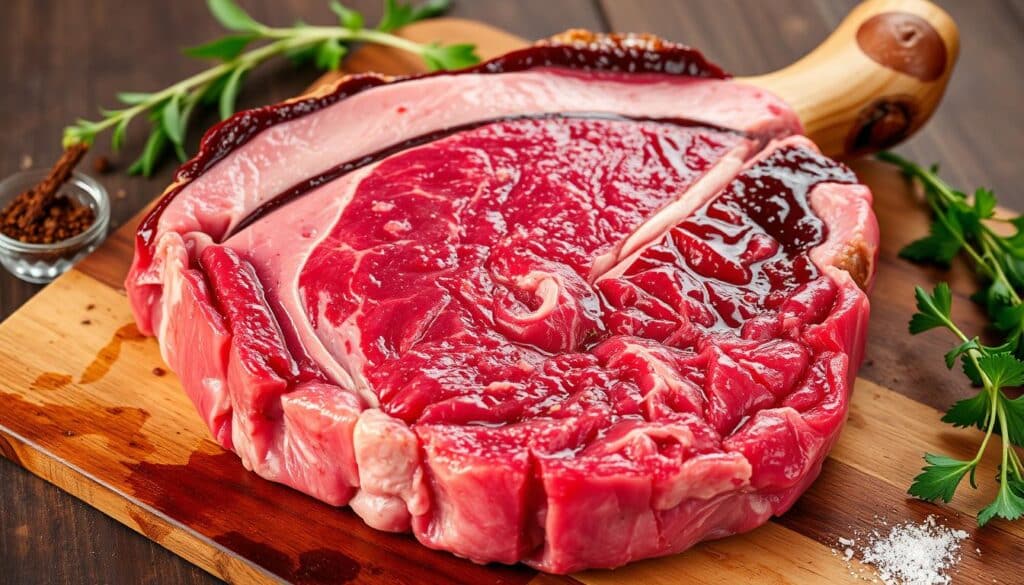
T-Bone and Porterhouse steaks are loved for their mix of tenderloin and strip loin. This mix gives a tender texture and rich flavor. The T-shaped bone adds flavor and looks great.For a flavorful twist, explore our Best Steak Marinades for Tender, Flavorful Results, perfect for enhancing these premium cuts. View Recipe.
Anatomy of Premium Steaks
Both steaks come from the short loin area. The main difference is the size of the tenderloin. Porterhouse steaks have a bigger tenderloin, while T-Bones have a smaller one. The USDA says the tenderloin must be at least 1.25 inches wide for a Porterhouse.
USDA Grading Standards
USDA grades are key in steak quality. They look at marbling and maturity. Marbling is the fat inside the meat that makes it taste good and tender. Higher grades mean more marbling and better taste.
| USDA Grade | Marbling Level | Characteristics |
|---|---|---|
| Prime | Abundant | Highest quality, exceptional tenderness |
| Choice | Moderate | High quality, very tender |
| Select | Slight | Leaner, less tender |
Knowing these factors helps pick the perfect steak. While Prime is the best, Choice steaks are also great and cheaper.
The Distinctive Characteristics of Each Cut
T-Bone & Porterhouse Steak are two top bone-in steaks that often confuse meat lovers. We’ll look at their special features and explain the main differences between them.
T-Bone Features and Specifications
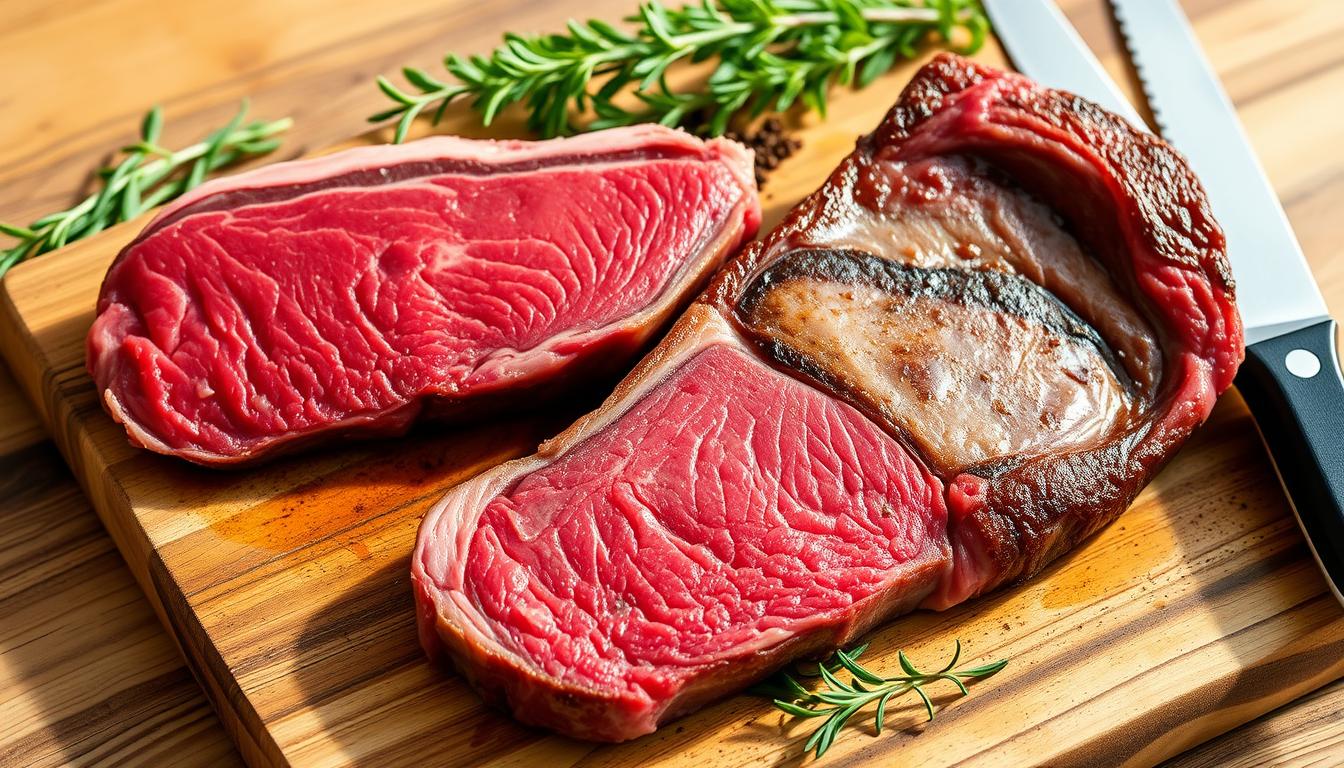
T-Bone steaks have a T-shaped bone that splits two parts. One part is the strip loin, and the other is a smaller tenderloin. The USDA says T-Bones must have a tenderloin at least 1/2 inch wide.

Porterhouse Measurements and Requirements
Porterhouse steaks are like T-Bones but with a bigger tenderloin. To be a Porterhouse, the tenderloin must be at least 1.25 inches wide. This means more tenderloin meat for you.
Key Differences Between Cuts
The big difference is the size of the tenderloin. Porterhouses have a bigger tenderloin because they’re cut from the rear. T-Bones, cut from the front, have a smaller tenderloin but more flavorful strip loin.
| Characteristic | T-Bone | Porterhouse |
|---|---|---|
| Tenderloin Width | At least 0.5 inches | At least 1.25 inches |
| Strip Loin Size | Larger | Smaller |
| Cut Location | Front of short loin | Rear of short loin |
Knowing these differences helps you pick the best steak for your dinner. Whether you like more tenderloin or a bigger strip, both T-Bone and Porterhouse steaks are great choices.Pair your steak with refreshing ideas from our Dessert & Juices Collection, offering creative options to complement your meal. View Recipes.
Selecting the Perfect Cut at Your Butcher
Choosing the right cut of beef is important. We’ll show you how to pick the best meat at your local butcher shop.For a crispy seafood option to accompany your steak, try our Long John Silvers Batter Recipe, a secret to golden-brown fish. View Recipe.
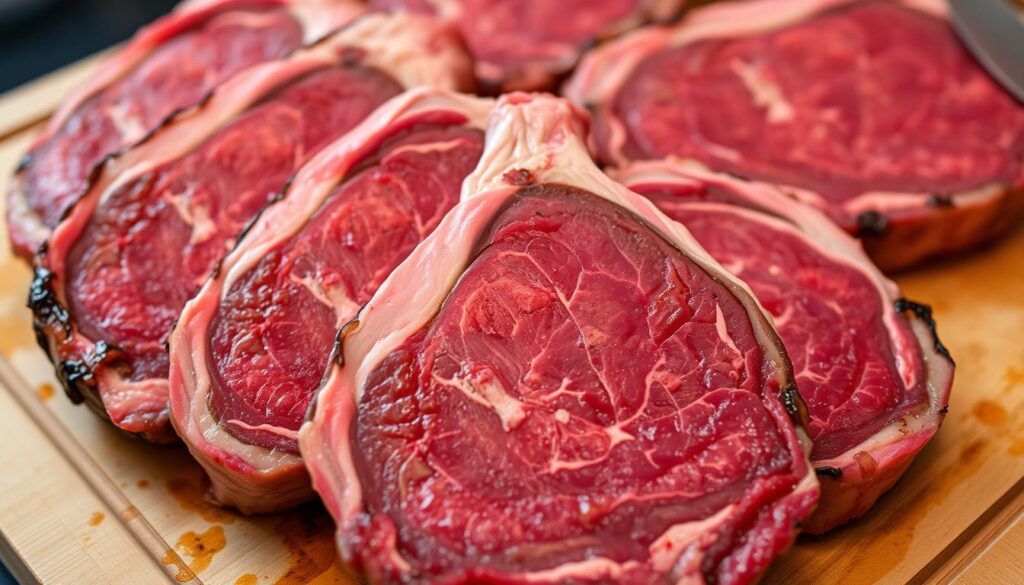
First, look at the marbling. You want to see thin, white fat lines in the meat. This fat melts when cooked, making the meat taste better and feel softer.
Next, check the color. Good beef is bright red. Stay away from cuts with brown spots or color changes. The fat should be white or creamy, not yellow.
Consider trying dry-aged beef. It’s more expensive but tastes richer. Ask your butcher about their aging methods and which cuts are best.
Lastly, think about the thickness. For T-bone and Porterhouse steaks, choose cuts that are at least 1.5 inches thick. This ensures they cook evenly and stay juicy inside.
“A well-marbled steak is like a work of art – beautiful to look at and even better to eat.”
A good butcher can help a lot. Ask them about the beef’s origin, aging, and cooking tips. Their knowledge will help you pick the best meat for your meal.
| Quality Indicator | What to Look For |
|---|---|
| Marbling | Evenly distributed, fine white lines |
| Color | Bright red meat, white or creamy fat |
| Texture | Firm to touch, not mushy |
| Thickness | At least 1.5 inches for optimal cooking |
By following these tips, you’ll find the perfect beef cuts for your next meal. For more steak ideas, check out our skirt steak recipes.
Marbling Patterns and Their Impact on Flavor
Marbling is key in premium steaks, affecting their taste and tenderness. It shows how fat distribution changes beef quality. This makes the dining experience better.
Understanding Fat Distribution
Marbling is the white fat in meat. It melts when cooked, adding flavor and juiciness. The more marbling, the better the steak tastes and feels.

Quality Indicators
USDA grading uses marbling to judge beef quality. Prime grade has lots of marbling. Choice and Select have less. This helps find the best cuts for taste and budget.
| USDA Grade | Marbling Level | Flavor Profile |
|---|---|---|
| Prime | Abundant | Rich, buttery |
| Choice | Moderate | Flavorful, juicy |
| Select | Slight | Leaner, less tender |
Age and Texture Considerations
Marbling is important, but cattle age matters too. Younger animals make meat that’s tender. Look for steaks from 18-24 month-old cattle. This mix gives great flavor and texture.
Dry-Aging Process and Benefits
Dry-aging is an old method that makes premium steaks even better. It involves storing beef in a special place for weeks. This lets natural enzymes break down the meat and make the flavors stronger.
As the beef dries, its taste gets more intense. This makes the meat tender and full of flavor. Steak lovers love it. The aging time can be from 14 to 45 days. Longer times mean stronger, more complex flavors.
Benefits of dry-aged beef include:
- Enhanced tenderness
- Concentrated, nutty flavor profile
- Improved texture
- Unique taste experience
When picking dry-aged T-Bone or Porterhouse steaks, look for a deep red color. Also, check for visible marbling. These steaks might smell a bit funky, which is okay. The outside might look darker or have a crust, but this is removed before cooking.
Dry-aged beef is pricier, but many think it’s worth it. The flavor and tenderness are amazing. Whether you’re grilling at home or eating out, a dry-aged steak is a treat.
Essential Equipment for Cooking Premium Steaks
Grilling steaks to perfection needs the right tools. We’ve listed must-have items to improve your steak cooking. These tools, from grilling accessories to temperature control, will make your steaks taste like they’re from a restaurant.
Grilling Tools and Accessories
A good grill is key for great steak. Choose between gas or charcoal grills that can get hot. Long tongs and spatulas are important for safe handling.
A strong wire brush keeps your grill grates clean. This ensures good heat transfer and keeps flavors pure.
Temperature Control Devices
A meat thermometer is a must for perfect doneness. Digital thermometers give quick and accurate readings. For big cuts, a leave-in probe thermometer is best.
Proper Storage Solutions
Storing steaks right is important for quality. Vacuum sealers keep them fresh and prevent freezer burn. For dry-aging at home, a special fridge is best.
For regular storage, use airtight containers or heavy-duty freezer bags. They protect your steaks.
| Equipment | Purpose | Recommended Features |
|---|---|---|
| Grill | Cooking surface | High heat capacity, even temperature distribution |
| Tongs | Steak handling | Long-handled, spring-loaded |
| Meat thermometer | Temperature monitoring | Digital, instant-read or leave-in probe |
| Storage containers | Steak preservation | Airtight, freezer-safe |
Perfect Temperature and Cooking Methods
Grilling steaks to perfection is an art. It needs mastering different cooking techniques and knowing the internal temperature. We’ll show you how to get the perfect doneness for T-Bone and Porterhouse steaks using various methods.
Start by letting your steak come to room temperature. This helps it cook evenly. Preheat your grill to high heat, about 450-500°F. Sear each side for 3-4 minutes to get a tasty crust.
Pan-searing is also great. Heat a cast-iron skillet over high heat, add a bit of oil, and sear the steak for 3-4 minutes per side. Then, finish it in a 400°F oven for the right doneness.
The secret to perfect steaks is checking the internal temperature. Use a meat thermometer to see if it’s done:
| Doneness | Internal Temperature | Description |
|---|---|---|
| Rare | 125°F | Cool red center |
| Medium Rare | 135°F | Warm red center |
| Medium | 145°F | Warm pink center |
| Medium Well | 150°F | Slightly pink center |
| Well Done | 160°F | Little to no pink |
After cooking, let your steak rest for 5-10 minutes. This lets the juices spread out, making the steak more flavorful and tender.
Seasoning Techniques for Enhanced Flavor
To make T-Bone and Porterhouse steaks taste better, you need to know how to season them. We’ll look at different ways to make these top cuts even more delicious.
Dry Rubs and Marinades
Dry rubs and marinades are great for seasoning steaks. They are a mix of spices and herbs rubbed on the meat. They make a tasty crust when cooked.
Marinades, on the other hand, use liquids to add flavor and make the meat tender.

Salt Timing and Application
Salt is key in making steaks. Salting your steak at least 40 minutes before cooking or right before grilling. This lets the salt soak into the meat, making it taste better and feel softer.
Complementary Herbs and Spices
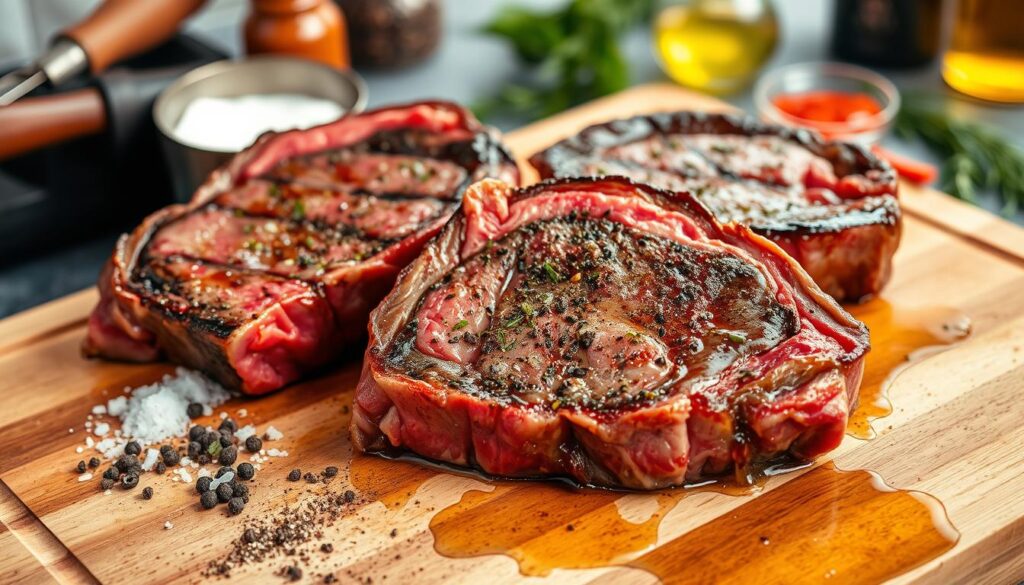
Some herbs and spices go well with beef. Rosemary, thyme, and garlic are favorites. For a stronger flavor, add crushed peppercorns or smoked paprika to your rubs.
| Seasoning Method | Best For | Application Time | Key Ingredients |
|---|---|---|---|
| Dry Rubs | Creating a flavorful crust | 30 minutes to 2 hours before cooking | Salt, pepper, paprika, garlic powder |
| Marinades | Tenderizing and flavoring | 2 to 8 hours before cooking | Oil, acid (vinegar or citrus), herbs, spices |
| Salt Only | Enhancing natural flavors | 40+ minutes or right before cooking | Coarse sea salt or kosher salt |
Try out these seasoning methods to find your favorite way to flavor T-Bone and Porterhouse steaks. The goal is to add to their natural taste, not to hide it.
Common Cooking Mistakes to Avoid
Getting the perfect T-Bone or Porterhouse steak takes skill and care. We’ve found some mistakes that can mess up your steak. Let’s look at these mistakes and share tips to improve your steak cooking.
One big mistake is not controlling the temperature right. Many start grilling without letting the steak warm up. Always let your steak sit out for about 30 minutes before cooking.
Flipping the steak too much is another error. Don’t flip it too often. Flip it once or twice for the best results. This helps the steak cook evenly and get a nice crust.
Not letting the steak rest long enough can make it dry. After cooking, let your steak rest for 5-10 minutes. This makes the steak juicy and flavorful.
| Mistake | Consequence | Solution |
|---|---|---|
| Cold steak on grill | Uneven cooking | Let steak reach room temperature |
| Frequent flipping | Poor crust formation | Flip once or twice only |
| Skipping rest time | Dry, less flavorful meat | Rest steak for 5-10 minutes |
By avoiding these mistakes and using our tips, you’ll get better at cooking steaks. Remember, being patient and precise is important for great steak at home.
Plating Techniques
Make your steak look great with these tips:
- Use a warm plate to keep the steak hot
- Place the steak at the center
- Arrange side dishes around the steak
- Drizzle with sauce or add a pat of herb butter
Remember, the secret to perfect steak pairings is balance. Let the beef be the star. Use thoughtful side dishes to enhance its rich flavors. Your meal will become a true culinary masterpiece.
Storage and Leftover Management
Storing steak right is key for keeping it safe and tasty. We’ll show you how to store raw steaks and leftovers.
Raw steak needs careful storage. Put your T-Bone or Porterhouse in a sealed container or wrap it in plastic wrap. Keep it in the coldest part of your fridge, usually the bottom shelf. Use raw steaks within 3-5 days for the best taste.
For leftover steak, cool it fast and fridge it within two hours. Slice it thinly and store in an airtight container. Eat leftovers in 3-4 days for the best flavor and texture.
| Storage Type | Temperature | Duration |
|---|---|---|
| Raw Steak (Refrigerator) | 40°F (4°C) or below | 3-5 days |
| Raw Steak (Freezer) | 0°F (-18°C) or below | 6-12 months |
| Cooked Steak (Refrigerator) | 40°F (4°C) or below | 3-4 days |
| Cooked Steak (Freezer) | 0°F (-18°C) or below | 2-3 months |
To reheat leftover steak, skip the microwave. It dries out the meat. Instead, warm it in a low oven or pan-sear it briefly. These methods keep the steak juicy and flavorful.
By following these tips, you’ll keep your steaks safe and delicious, even as leftovers.
Conclusion
We’ve looked into the world of top beef cuts, like T-Bone and Porterhouse steaks. These steaks are special because they mix tenderloin and strip steak. The big difference is the size of the tenderloin, with Porterhouse having more.
Choosing the right steak means knowing about USDA grading, marbling, and age. We’ve talked about the tools, ways to cook, and seasonings for great steaks at home. It’s important to control the temperature and avoid mistakes for the best taste.
Now you’re set to wow at your next barbecue or dinner. Whether you like the mix of flavors in a T-Bone or the softness of a Porterhouse, these premium beef cuts will make your meal better. Happy grilling!

