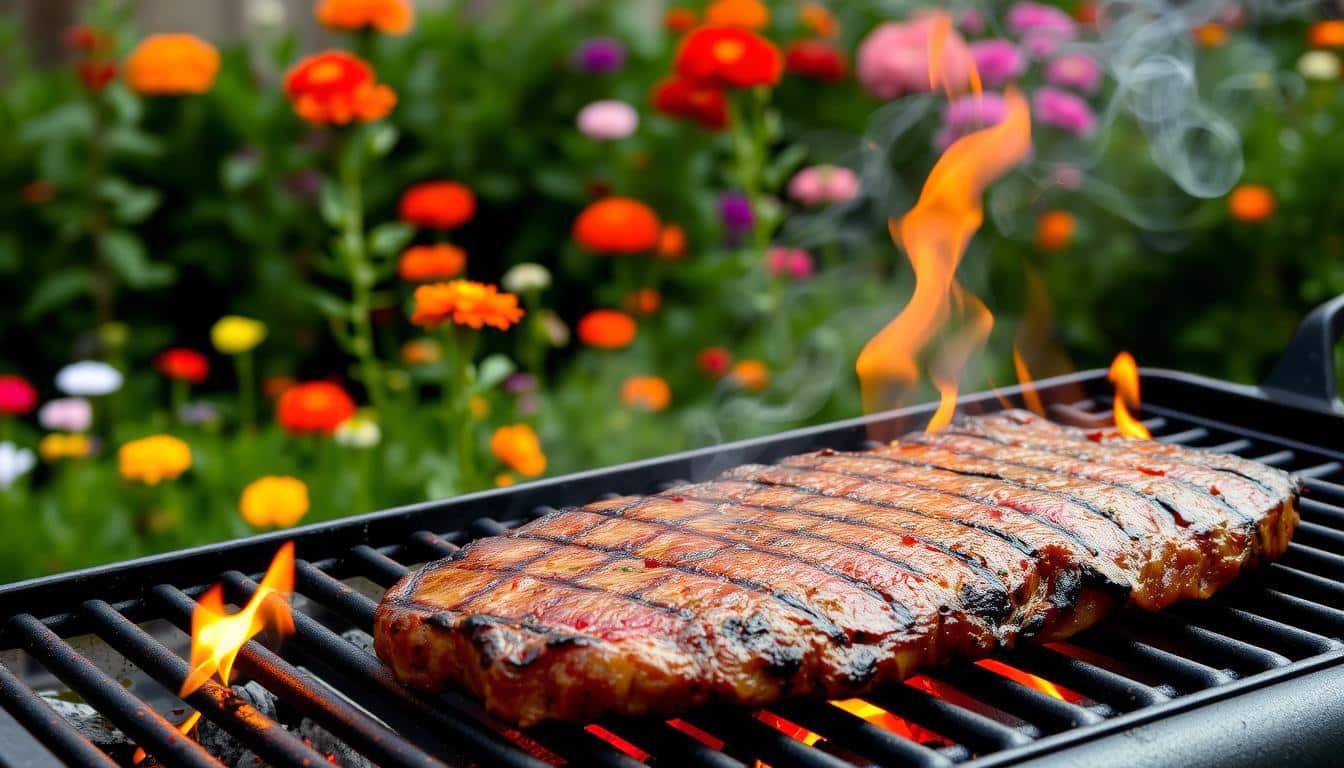
Steak lovers, get ready to elevate your culinary skills! We’re diving into the world of beef, grilling, and cooking techniques. This guide will help you master the art of preparing the perfect steak. From selecting prime cuts to mastering various cooking methods, your kitchen will become a steakhouse.
Whether you’re a novice cook or a seasoned chef, our guide covers all aspects of steak preparation. We’ll explore different cuts, share insider tips on seasoning, and reveal the secrets to achieving that restaurant-quality sear. Get ready to impress your guests with mouthwatering steaks cooked to perfection!
Understanding Different Cuts of Steak
Steak lovers know that not all cuts are created equal. Each type of steak offers a unique flavor profile and texture. Let’s explore various cuts to help you choose the perfect steak for your next meal.
Premium Cuts
Premium cuts are known for their tenderness and rich flavor. The ribeye is prized for its marbling, while the filet mignon is exceptionally tender. The porterhouse combines both the tenderloin and strip loin for a truly luxurious experience.
Budget-Friendly Options
For those watching their wallets, flank steak, skirt steak, and hanger steak offer great taste at a lower price point. These cuts are full of flavor but require proper preparation to ensure tenderness.
Specialty Cuts
Specialty cuts like the tomahawk and T-bone are showstoppers. The tomahawk is a ribeye with the entire rib bone left intact. The T-bone offers a combination of strip and tenderloin separated by a T-shaped bone.
| Cut | Tenderness | Flavor | Best Cooking Method |
|---|---|---|---|
| Ribeye | High | Rich | Grilling, Pan-searing |
| Filet Mignon | Very High | Mild | Pan-searing, Broiling |
| Porterhouse | High | Rich | Grilling |
| Flank Steak | Medium | Strong | Grilling, Broiling |
| Skirt Steak | Medium | Strong | Grilling, Stir-frying |
| Hanger Steak | Medium | Strong | Grilling, Pan-searing |
| Tomahawk | High | Rich | Grilling, Reverse Sear |
| T-bone | High | Rich | Grilling, Broiling |
Understanding these different cuts will help you select the perfect steak for your taste preferences and cooking style. Whether you’re grilling a ribeye or pan-searing a flank steak, each cut offers a unique culinary experience.
The Science of Marbling and Meat Grades
Learning about marbling and USDA grades helps pick the best steak. Let’s explore how these elements affect your meal.
USDA Grading System Explained
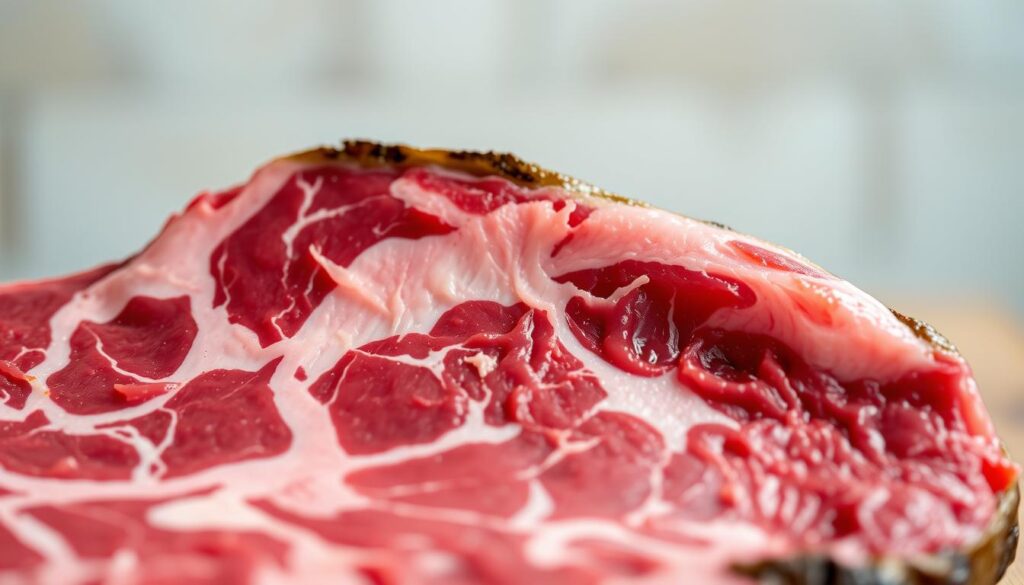
The USDA grades beef by looking at marbling and maturity. Marbling is the white fat in the meat. More marbling means a higher grade.
| USDA Grade | Marbling Level | Beef Quality |
|---|---|---|
| Prime | Abundant | Excellent |
| Choice | Moderate | Very Good |
| Select | Slight | Good |
How Marbling Affects Flavor and Tenderness
Marbling is key for flavor and tenderness. As the steak cooks, the fat makes it juicy and tasty. It also makes the meat tender by breaking down muscle fibers.
Premium Grades vs Standard Grades
Premium grades like Prime have lots of marbling. This means they are very tender and flavorful. Standard grades have less marbling but can be great if cooked right. Your choice depends on what you like and your budget.
“The right balance of marbling can transform a good steak into an unforgettable dining experience.”
Knowing these details helps choose the perfect steak. This ensures a tasty meal that meets your quality and tenderness standards.
Selecting the Perfect Steak
Choosing steak is like an art. We’ll show you how to pick a top-notch cut that will delight your taste buds. There are a few important things to think about when it comes to beef quality.
First, look for marbling – those white streaks of fat in the meat. More marbling means a juicier, tastier steak. Next, check the color. Fresh beef should be bright red. If it’s brown or gray, it’s been out too long.
For a special treat, try dry-aged steak. This makes the steak taste better and feel softer. If you’re feeling bold, wagyu beef has amazing marbling and a creamy texture.
The secret to a great steak lies in its selection. Choose wisely, and half the battle is won.
When you’re shopping, watch for labels. Look for USDA grades like Prime, Choice, or Select. Prime has the most marbling, while Select is leaner. Here’s a quick comparison:
| Grade | Marbling | Tenderness | Price |
|---|---|---|---|
| Prime | Abundant | Extremely tender | Highest |
| Choice | Moderate | Very tender | Moderate |
| Select | Slight | Tender | Lowest |
Remember, the perfect steak is what you like best. Try different cuts and grades to find your favorite. Happy steak hunting!
Essential Tools for Cooking Steak
Cooking the perfect steak needs more than a hot grill. We’ve gathered a list of must-have tools to boost your steak skills. These items will help you get steakhouse-quality results at home.
Recommended Grilling Equipment
Great grilling tools are key for mastering steak prep. A sturdy pair of tongs lets you control steak flips. A quality grill brush keeps grates clean for better heat transfer. For charcoal fans, a chimney starter lights coals evenly and fast.
Kitchen Tools and Thermometers
In the kitchen, a cast-iron skillet is great for a crispy steak crust. A sharp knife set is essential for trimming and slicing. The most important tool? A reliable meat thermometer. It ensures your steak is cooked perfectly every time.
Seasoning and Marinade Supplies
Don’t forget seasoning supplies. A pepper mill for fresh pepper and a salt cellar for easy salt access are must-haves. For flavor experiments, a spice grinder lets you make custom rubs. Stock up on quality oils and vinegars for homemade marinades that elevate your steak.
| Tool Category | Essential Items |
|---|---|
| Grilling Tools | Tongs, grill brush, chimney starter |
| Kitchen Essentials | Cast-iron skillet, knife set, meat thermometer |
| Seasoning Supplies | Pepper mill, salt cellar, spice grinder |
With these tools, you’ll be ready to cook steaks like a pro. Remember, quality grilling tools and a reliable meat thermometer are key to perfect steak prep.
Preparation Methods and Techniques
Steak preparation is an art that can make your meals better. We’ll look at some key ways to make your steak taste and feel better before cooking.
Tenderizing is a key step in making steak. For tougher cuts, use a meat mallet to break down muscle fibers. This makes the meat softer and cooks more evenly.
Dry brining is also a good method. Sprinkle salt on your steak and let it sit in the fridge for a few hours or overnight. This method draws out moisture, which then gets reabsorbed, seasoning the meat.
| Technique | Duration | Benefits |
|---|---|---|
| Tenderizing | 5-10 minutes | Softens meat, improves texture |
| Dry Brining | 2-24 hours | Enhances flavor, improves juiciness |
Bringing your steak to room temperature before cooking is key. This ensures it cooks evenly. Take your steak out of the fridge 30-60 minutes before cooking, depending on its thickness.
By mastering these steak preparation techniques, you’ll make restaurant-quality steaks at home. Remember, patience is key – great steak is worth the wait!
The Art of Seasoning Steak
Learning to season steak is a great way to improve your cooking. We’ll look at ways to make your steak taste better without covering up its natural flavor.
Basic Salt and Pepper Techniques
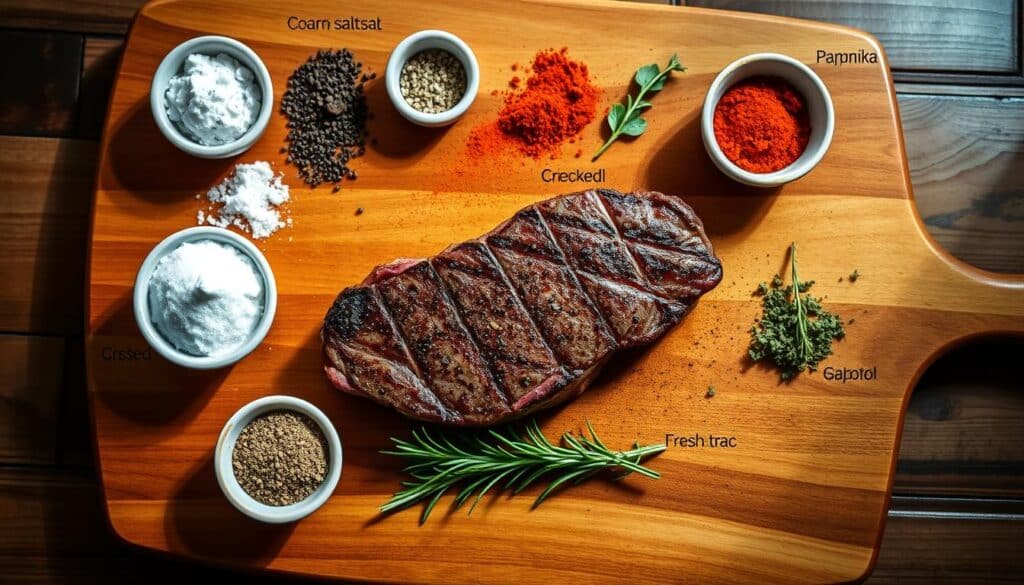
Salt and pepper are the basics of seasoning steak. Sprinkle kosher salt on both sides of your steak about an hour before you cook it. This lets the salt get into the meat and make it taste better. Add some freshly ground black pepper for a bit of spice.
Creating Custom Rubs
Dry rubs give your steak a tasty crust. Mix herbs and spices like garlic powder, paprika, and dried herbs to make your own blend. Try different mixes to find the perfect seasoning for you.
Marinades and Their Uses
Marinades make tough cuts tender and flavorful. A simple marinade has oil, acid (like vinegar or citrus), and herbs. Don’t marinate too long, or the meat might get too soft.
| Seasoning Type | Best For | Application Time |
|---|---|---|
| Salt and Pepper | All cuts | 1 hour before cooking |
| Dry Rubs | Thick cuts | 30 minutes before cooking |
| Marinades | Tougher cuts | 2-8 hours |
The key to seasoning is to add flavor, not hide it. With a bit of practice, you’ll get the seasoning just right for your taste.
Cooking Methods for Different Cuts
Learning to cook steak means knowing different ways to do it. Each method makes different cuts taste and feel unique. Let’s look at three main ways to cook a great steak.
Grilling Techniques
Grilling steak adds a smoky taste and nice grill marks. For thick steaks like ribeye or New York strip, use hot heat to sear. Then, move it to a cooler spot to cook the rest.
For thin steaks like flank or skirt, cook them fast and hot. This stops them from getting too tough.
Pan-Searing Methods
Pan-searing makes the steak’s outside crispy and the inside juicy. Heat a heavy pan until it’s very hot. Add oil that doesn’t smoke easily, then sear the steak for 3-4 minutes on each side.
This method is great for filet mignon or sirloin. For more taste, add butter and herbs in the last minute.
Reverse Searing Approach
Reverse sear cooks the steak in two steps. First, cook it slowly in a low oven until it’s almost done. Then, sear it quickly in a hot pan or on the grill.
This is perfect for thick cuts like Tomahawk steaks or porterhouse.
| Cooking Method | Best for | Key Advantage |
|---|---|---|
| Grilling | Ribeye, NY Strip | Smoky flavor |
| Pan-Searing | Filet Mignon, Sirloin | Crispy crust |
| Reverse Sear | Tomahawk, Porterhouse | Even cooking |
Mastering these methods means you can cook a perfect steak every time. No matter the cut, you’ll get it right.
Temperature Guide and Doneness Levels
Cooking the perfect steak is an art that needs precision and knowledge. We’ll show you how to cook your steak to your liking. We’ll cover the different levels of doneness and the internal temperatures.
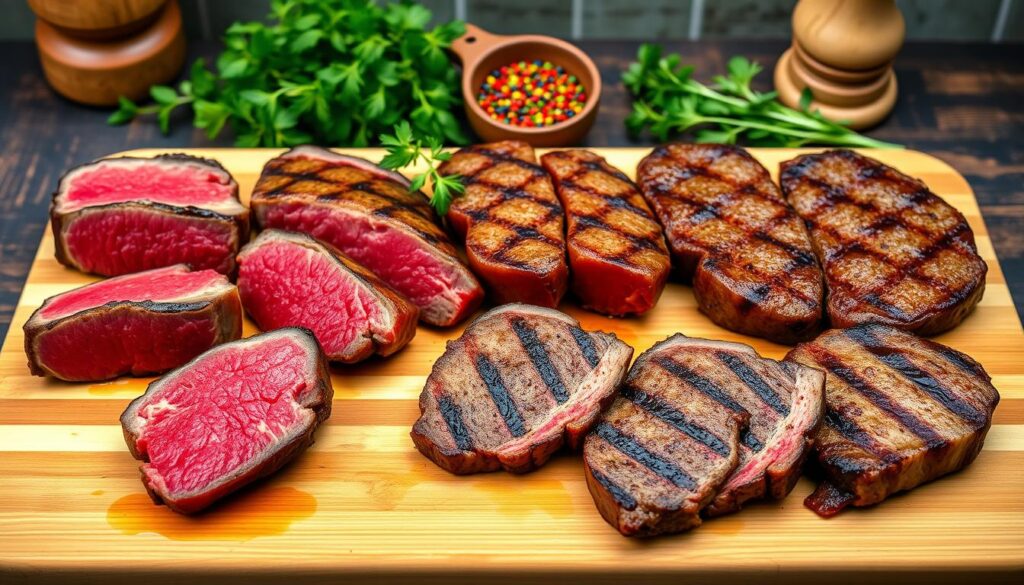
To check your steak’s internal temperature, a meat thermometer is key. Put the thermometer in the thickest part of the steak. Make sure it’s not in fat or bone for an accurate reading.
| Doneness | Internal Temperature | Description |
|---|---|---|
| Rare | 125°F (52°C) | Cool red center, very soft |
| Medium Rare | 135°F (57°C) | Warm red center, tender |
| Medium | 145°F (63°C) | Warm pink center, slightly firm |
| Medium Well | 150°F (66°C) | Slightly pink center, firm |
| Well Done | 160°F (71°C) | Little to no pink, very firm |
Remember, your steak will keep cooking after you take it off the heat. For the best taste, remove it when it’s 5°F below your desired temperature. Let it rest for a few minutes. This lets the juices spread and the temperature even out.
With practice and a good meat thermometer, you’ll get your steak just right. Try different temperatures to find your favorite steak!
Resting and Serving Your Steak
The final steps in preparing a perfect steak are key. Resting, slicing, and plating can make your meal better. Let’s look at these important steps to serve your steak perfectly.
Proper Resting Times
Resting steak is important for even juices. Rest for about 5 minutes for every inch of thickness. This keeps the steak juicy.
| Steak Thickness | Resting Time |
|---|---|
| 1 inch | 5 minutes |
| 1.5 inches | 7-8 minutes |
| 2 inches | 10 minutes |
Slicing Techniques
When slicing steak, cut against the grain. This makes the steak tender. Use a sharp knife and slice at an angle for the best look.
Plating Presentations
Plating can make your steak look like a restaurant dish. Here are some tips:
- Use a warm plate to keep the steak hot
- Arrange slices in a fan shape for visual appeal
- Add a pat of compound butter for extra flavor
- Garnish with fresh herbs or microgreens
Mastering these techniques will improve your steak making.
Common Mistakes to Avoid
Cooking the perfect steak takes practice. We’ve seen many mistakes that can ruin a good cut of meat. Let’s dive into some common pitfalls and how to sidestep them.
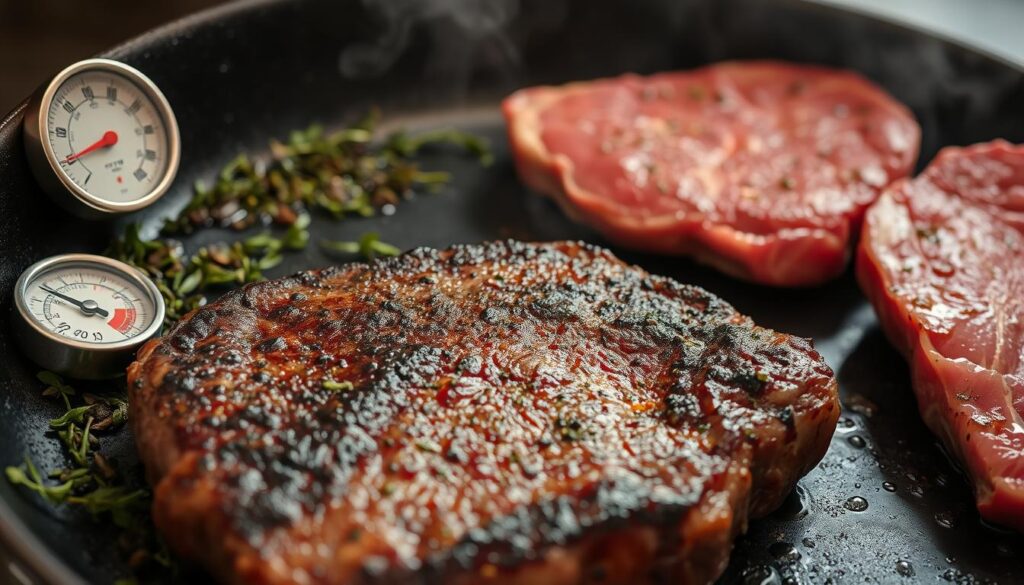
Overcooking is a frequent issue. It dries out the meat, making it tough and less flavorful. Use a meat thermometer to check doneness. Remove the steak from heat just before it reaches your desired temperature.
Underseasoning is another mistake that can make your steak bland. Don’t be shy with salt and pepper. Season generously before cooking to enhance the meat’s natural flavors.
Proper handling is key. Avoid these errors:
- Not letting the steak come to room temperature before cooking
- Flipping the steak too often
- Cutting into the steak immediately after cooking
To help you remember these tips, we’ve compiled a handy table:
| Mistake | Solution |
|---|---|
| Overcooking | Use a meat thermometer |
| Underseasoning | Season generously before cooking |
| Cooking cold steak | Let steak reach room temperature |
| Frequent flipping | Flip once or twice only |
| Cutting too soon | Rest steak for 5-10 minutes before slicing |
By avoiding these common steak cooking mistakes, you’ll be well on your way to serving up restaurant-quality steaks at home. Remember, practice makes perfect!
Conclusion
We’ve looked into making the perfect steak. We talked about picking the best cuts and learning how to cook them. Choosing high-quality beef is the first step to a delicious meal.
Proper preparation and seasoning can make your steak even better. This is important to remember.
We’ve also talked about grilling, pan-searing, and reverse searing. Each method has its own benefits. You can choose the best way to cook your steak based on what you like.
Now, you’re ready to start cooking your own steak. Whether you want a tender filet mignon or a juicy ribeye, you know how to do it. So, get ready to cook your next amazing steak dinner!

