We’re about to share a secret for cooking the perfect steak. The reverse-sear method has become very popular. It’s loved by both home cooks and professional chefs.
This technique promises a steak that’s juicy inside and crispy outside. It will surely impress your guests.
The reverse-sear method is different from traditional cooking. We start by roasting the steak in the oven slowly. Then, we quickly sear it at high heat.
This way, we get a steak that’s perfectly cooked all the way through. It’s a game-changer for steak lovers.
Now, let’s explore why this method is so great. We’ll look at the science behind it. We’ll also talk about the equipment you need and how to do it step by step.
What Makes the Reverse-Sear Steak Method Special
The reverse-sear method has changed how we cook thick cut steaks. It gives us control over the steak’s doneness and flavor. This is why steak lovers prefer it.
Science Behind Even Cooking
Reverse searing uses heat distribution science. It heats the steak slowly in a low oven. This makes the steak even from edge to center.
This slow cooking breaks down tough fibers. It makes the steak tender and juicy.
Benefits Over Traditional Searing
Reverse searing avoids the gray band of overcooked meat. It lets you cook the steak just right. You can get your steak cooked exactly as you want.
The high-heat sear at the end adds flavor. It makes a tasty crust without ruining the inside.
Temperature Control Advantages
Reverse searing is great for controlling temperature. The slow oven phase lets you check the steak’s temperature. This prevents it from getting overcooked.
This method works well for thick steaks. They can be hard to cook evenly with old methods.
| Cooking Method | Temperature Control | Even Cooking | Crust Formation |
|---|---|---|---|
| Reverse Sear | Excellent | Superior | Well-developed |
| Traditional Sear | Good | Variable | Intense |
| Sous Vide | Precise | Excellent | Requires additional step |
Essential Equipment for Perfect Reverse Searing
Mastering the art of Oven-Seared Steak needs the right tools. We’ll show you the essential equipment for a perfect reverse sear every time.
Recommended Thermometers
Getting accurate Steak Temperature readings is key for reverse searing. Get a reliable digital meat thermometer with a thin probe. This lets you monitor the temperature precisely without losing heat from your oven.

Best Pans and Cooking Surfaces
For the final sear, use a heavy-bottomed skillet or cast-iron pan. These keep heat well, giving your Oven-Seared Steak a great crust. A grill pan can also give those nice char marks.
Oven Setup Requirements
Your oven must keep a steady low temperature. A baking sheet with a wire rack is perfect for even air flow. This setup helps your steak cook evenly on all sides.
| Equipment | Purpose | Recommended Type |
|---|---|---|
| Thermometer | Monitor Steak Temperature | Digital with thin probe |
| Pan | Final searing | Cast-iron or heavy-bottomed skillet |
| Oven Setup | Even cooking | Baking sheet with wire rack |
With these tools, you’re ready to make the perfect Oven-Seared Steak using the reverse sear method.
Choosing the Right Cut of Beef
Choosing the right cut of beef is key for a juicy steak with the reverse-sear method. Thick cut steaks work best. Their thickness ensures even cooking and keeps moisture in during slow roasting.
When you’re shopping, look for steaks that are at least 1.5 inches thick. This thickness helps create a great crust on the outside. It also keeps the inside tender and juicy. Some top picks are:
- Ribeye: Known for its rich marbling and intense flavor
- New York Strip: Offers a balance of tenderness and beefy taste
- Filet Mignon: Exceptionally tender, but less marbled
Marbling, the fat inside the meat, is important. It adds flavor and juiciness. Look for steaks with white streaks for the best taste. A well-marbled, thick steak will taste better and be juicier.
For a special treat, try dry-aged beef. Aging makes the flavors stronger and the meat tender. No matter your choice, pick a fresh, high-quality steak for the best reverse-sear.
Preparing Your Steak for Reverse Searing
Getting your steak ready for reverse searing is key. It makes your steak tender and full of flavor. We’ll show you how to get your steak ready for this method.
Proper Seasoning Techniques
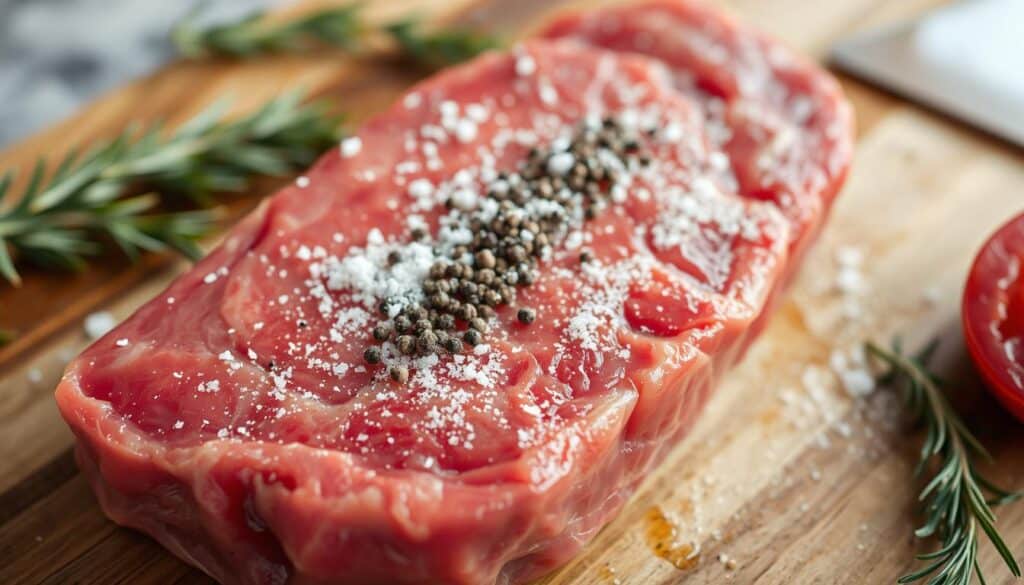
Seasoning brings out the steak’s natural taste. First, pat the meat dry with paper towels. This helps the seasoning stick better and creates a nice crust.
Then, sprinkle kosher salt and black pepper on all sides. You can also add garlic powder or dried herbs for extra flavor.

Temperature Requirements
The steak’s temperature is very important. Take it out of the fridge 30-60 minutes before cooking. This lets it warm up evenly.
Use a meat thermometer to check the internal temperature. It helps you cook it just right.
Timing Considerations
Timing is key in reverse searing. Cook at low heat for about 45 minutes to an hour. Then, sear it quickly.
The cooking time depends on the steak’s thickness and how done you like it. Thicker steaks need more time but are more tender.
| Steak Thickness | Approximate Oven Time | Searing Time (per side) |
|---|---|---|
| 1 inch | 30-40 minutes | 45-60 seconds |
| 1.5 inches | 40-50 minutes | 60-75 seconds |
| 2 inches | 50-60 minutes | 75-90 seconds |
By following these steps, you’ll get a tender and tasty reverse-seared steak.
Step-by-Step Reverse-Sear Method
Let’s make a perfect reverse-sear steak. This method cooks your steak evenly and adds a tasty crust. You’ll get restaurant-quality steak at home.
Initial Oven Temperature Settings
First, heat your oven to 275°F (135°C). This low heat cooks your steak slowly and evenly. Place your seasoned steak on a wire rack in a baking sheet. Then, put it in the oven.
Monitoring Internal Temperature
Use a meat thermometer to check your steak’s temperature. For medium-rare, take it out at 120°F (49°C). It usually takes 20-35 minutes, depending on the steak’s thickness.
Final Searing Process
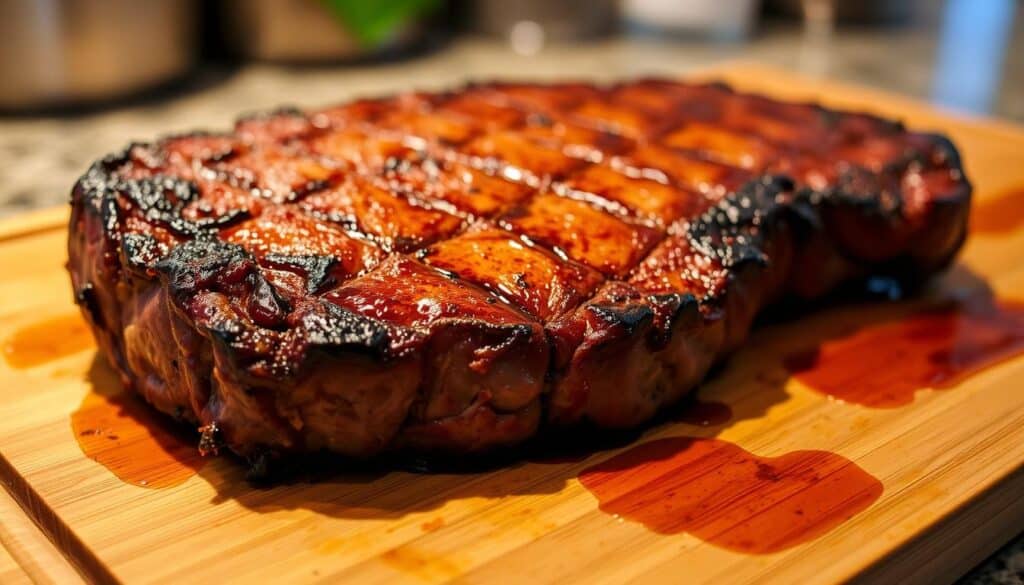
When your steak is at the right temperature, it’s time for the sear. Heat a cast-iron skillet over high heat until it’s very hot. Add oil with a high smoke point, then sear your steak for 45 seconds to 1 minute on each side.
| Doneness | Internal Temp (°F) | Oven Time (approx.) | Sear Time (per side) |
|---|---|---|---|
| Rare | 115 | 20-25 min | 30-45 sec |
| Medium Rare | 120 | 25-30 min | 45-60 sec |
| Medium | 130 | 30-35 min | 60-75 sec |
This method combines slow cooking with a quick sear. It gives you a perfectly cooked inside and a crispy, tasty crust. Let your steak rest for 5-10 minutes before slicing and serving.
Temperature Guide for Different Doneness Levels
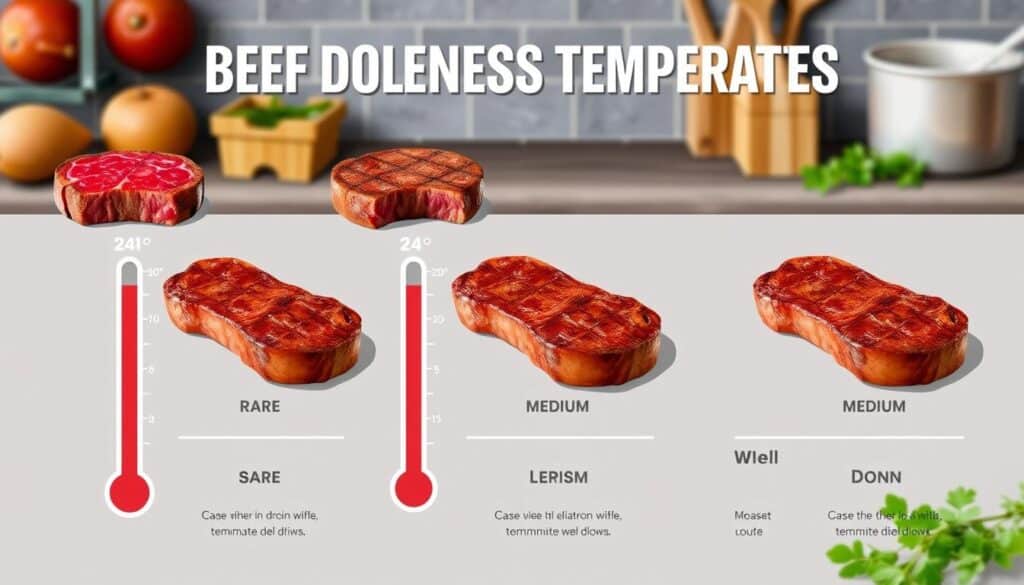
Mastering beef doneness is key to cooking the perfect steak. We’ve created a guide to help you achieve your desired steak temperature every time. Use this chart as your go-to reference for reverse-searing success.
| Doneness | Internal Temperature | Description |
|---|---|---|
| Rare | 125°F (52°C) | Cool red center, soft texture |
| Medium Rare | 135°F (57°C) | Warm red center, tender texture |
| Medium | 145°F (63°C) | Pink center, slightly firm texture |
| Medium Well | 150°F (66°C) | Slight pink center, firmer texture |
| Well Done | 160°F (71°C) | Little to no pink, firm texture |
Remember, steak temperature continues to rise after removing it from heat. For optimal results, take your steak off the heat when it’s 5°F below your target temperature. Let it rest for a few minutes to reach the desired doneness.

Our temperature guide ensures you hit the sweet spot for your preferred beef doneness. Whether you like your steak rare or well-done, precise temperature control is the secret to consistently great results.
Common Mistakes to Avoid
Getting a juicy steak with reverse searing is an art. We’ve found common mistakes that can make your steak tough. Let’s look at these errors to make sure your next try is a hit.
Temperature Control Errors
Getting the temperature right is key for a juicy steak. Many cooks set their oven too high, leading to uneven cooking. Try a low and slow method, around 225°F to 250°F. This heat cooks the meat evenly.
Timing Mishaps
Rushing the cooking can ruin a tender steak. Patience is important. Don’t take your steak out too soon or leave it in too long. Use a meat thermometer to check the temperature.
Resting Period Issues
Not resting the steak long enough is a common mistake. After searing, let it rest for 5-10 minutes. This lets the juices spread, making each bite moist and flavorful.
| Mistake | Consequence | Solution |
|---|---|---|
| High oven temperature | Uneven cooking | Set oven to 225°F-250°F |
| Inaccurate timing | Over or undercooked steak | Use a meat thermometer |
| Skipping rest time | Dry, less flavorful steak | Rest for 5-10 minutes after searing |
Avoiding these mistakes will help you master reverse-searing. You’ll enjoy perfectly cooked, juicy steaks every time.
Tips for Achieving Restaurant-Quality Results
To make your reverse-sear steak taste like it’s from a restaurant, you need to master the cooking technique. We’ve got expert tips to help you make a delicious steak at home.
First, pick a high-quality cut of beef. Look for prime or choice grades for the best taste and juiciness. Before cooking, let the steak get to room temperature. This helps it cook evenly.
Seasoning is key for a great oven-seared steak. Use lots of kosher salt and black pepper. For more flavor, add garlic powder or dried herbs to your mix.
- Preheat your oven to a low temperature (200-225°F) for the initial slow cook
- Use a wire rack set in a baking sheet to allow air circulation around the steak
- Invest in a reliable meat thermometer for precise temperature control
When you sear the steak, add butter and fresh herbs like thyme or rosemary to the pan. Baste the steak with the melted butter for extra flavor and aroma. This butter-basting technique is a secret used by restaurants to make their steaks taste amazing.
Remember, patience is important when reverse searing. Let your steak rest for 5-10 minutes after cooking. This makes the steak tender and juicy, just like in a top restaurant.
Serving and Presentation Techniques
The perfect juicy steak needs a great presentation. We’ll show you how to serve your reverse-seared steak. This way, every bite will be as good as the first.
Resting Time Importance
Let your steak rest for 5-10 minutes after cooking. This makes it more flavorful and moist. Cover it with foil to keep it warm.
Plating Suggestions
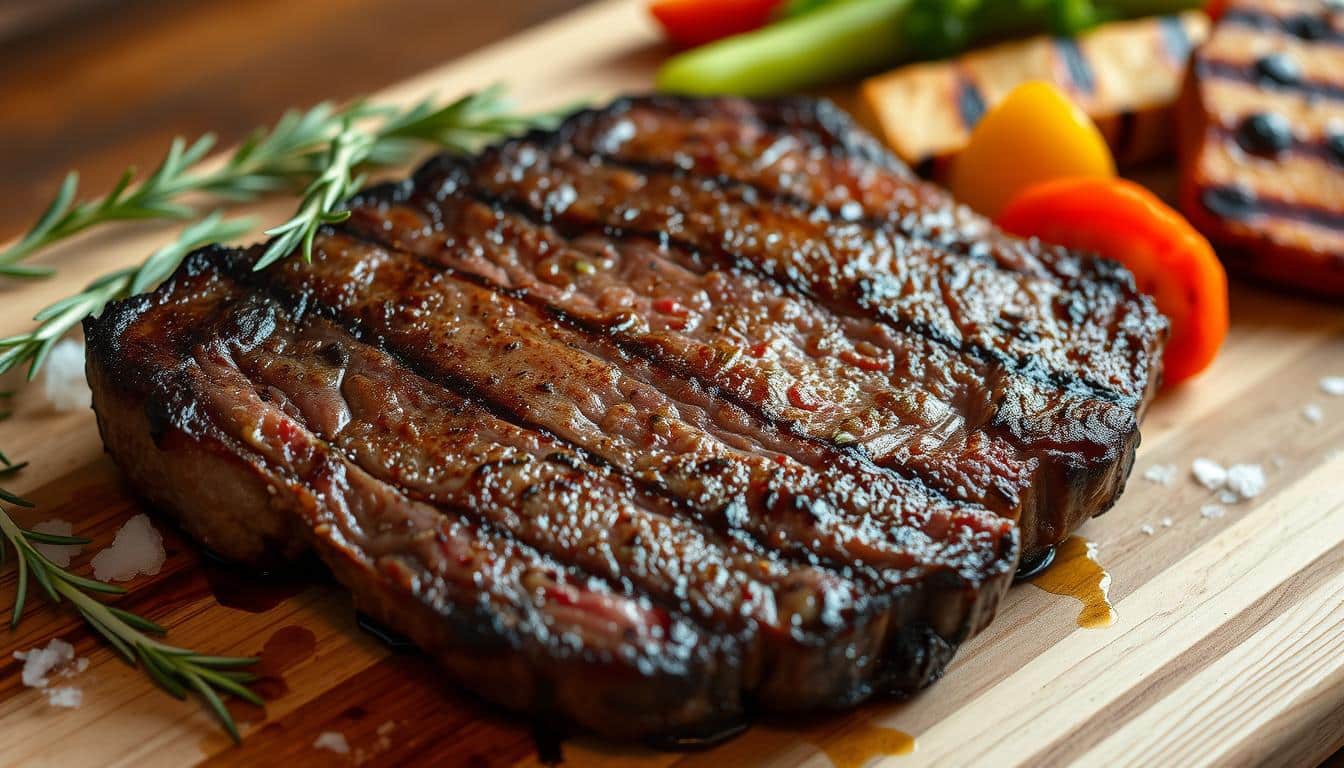
For a stunning look, slice your steak against the grain. Place the slices on a warm plate, fanning them out. Add herb butter on top for extra taste and looks.
Complementary Sides
Choose sides that make your steak taste even better. Here are some great options:
| Side Dish | Flavor Profile | Preparation Time |
|---|---|---|
| Roasted Garlic Mashed Potatoes | Creamy, rich | 30 minutes |
| Grilled Asparagus | Earthy, smoky | 15 minutes |
| Sautéed Mushrooms | Umami, savory | 20 minutes |
| Caesar Salad | Fresh, tangy | 10 minutes |
For a memorable steak dinner, mix flavors and textures well. With these tips, your reverse-seared steak will be the highlight of any meal.
Troubleshooting Your Reverse-Sear Process
Even with careful planning, reverse-sear steak preparation can sometimes hit snags. Let’s explore common issues and their solutions to ensure your steak turns out perfect every time.
Uneven Cooking Solutions
Uneven cooking can ruin an excellent reverse-sear steak. Make sure your oven stays at a steady temperature. Use an oven thermometer to check for hot spots and rotate your steak halfway through for even heat.
Crust Formation Problems
A lackluster crust can be disappointing. For a crispy exterior, pat your steak dry before searing and use a blazing hot pan. Cast iron skillets are great for a good crust. Aim for a steak temperature of 115°F before searing to prevent overcooking.

Temperature Management Issues
Maintaining the right steak temperature is key for reverse-searing success. Get a reliable meat thermometer to track internal temperatures accurately. If your steak is cooking too quickly, lower the oven temperature slightly. If it’s taking too long, increase the heat a bit.
| Issue | Cause | Solution |
|---|---|---|
| Uneven cooking | Oven hot spots | Rotate steak, use oven thermometer |
| Poor crust | Moisture, low heat | Pat dry, use very hot pan |
| Temperature issues | Inaccurate monitoring | Use reliable meat thermometer |
By tackling these common reverse-sear steak challenges, you’ll get better at it. Remember, practice makes perfect, so don’t get discouraged if your first attempt isn’t flawless.
Conclusion
We’ve looked into the reverse-sear steak cooking method. It’s changing how we cook the perfect steak at home. This method lets you control the steak’s doneness and gets a great seared crust.
Start by cooking the steak low and slow in the oven. Then, finish it off with a quick sear. This way, you get even cooking and the best flavor. The reverse-sear method makes cooking steak easy and ensures great results every time.
Try the reverse-sear steak method in your kitchen. With a bit of practice, you’ll become a pro at making amazing steaks. You’ll impress everyone with your cooking skills. Remember, you can make great steak at home with the right techniques and tools.

